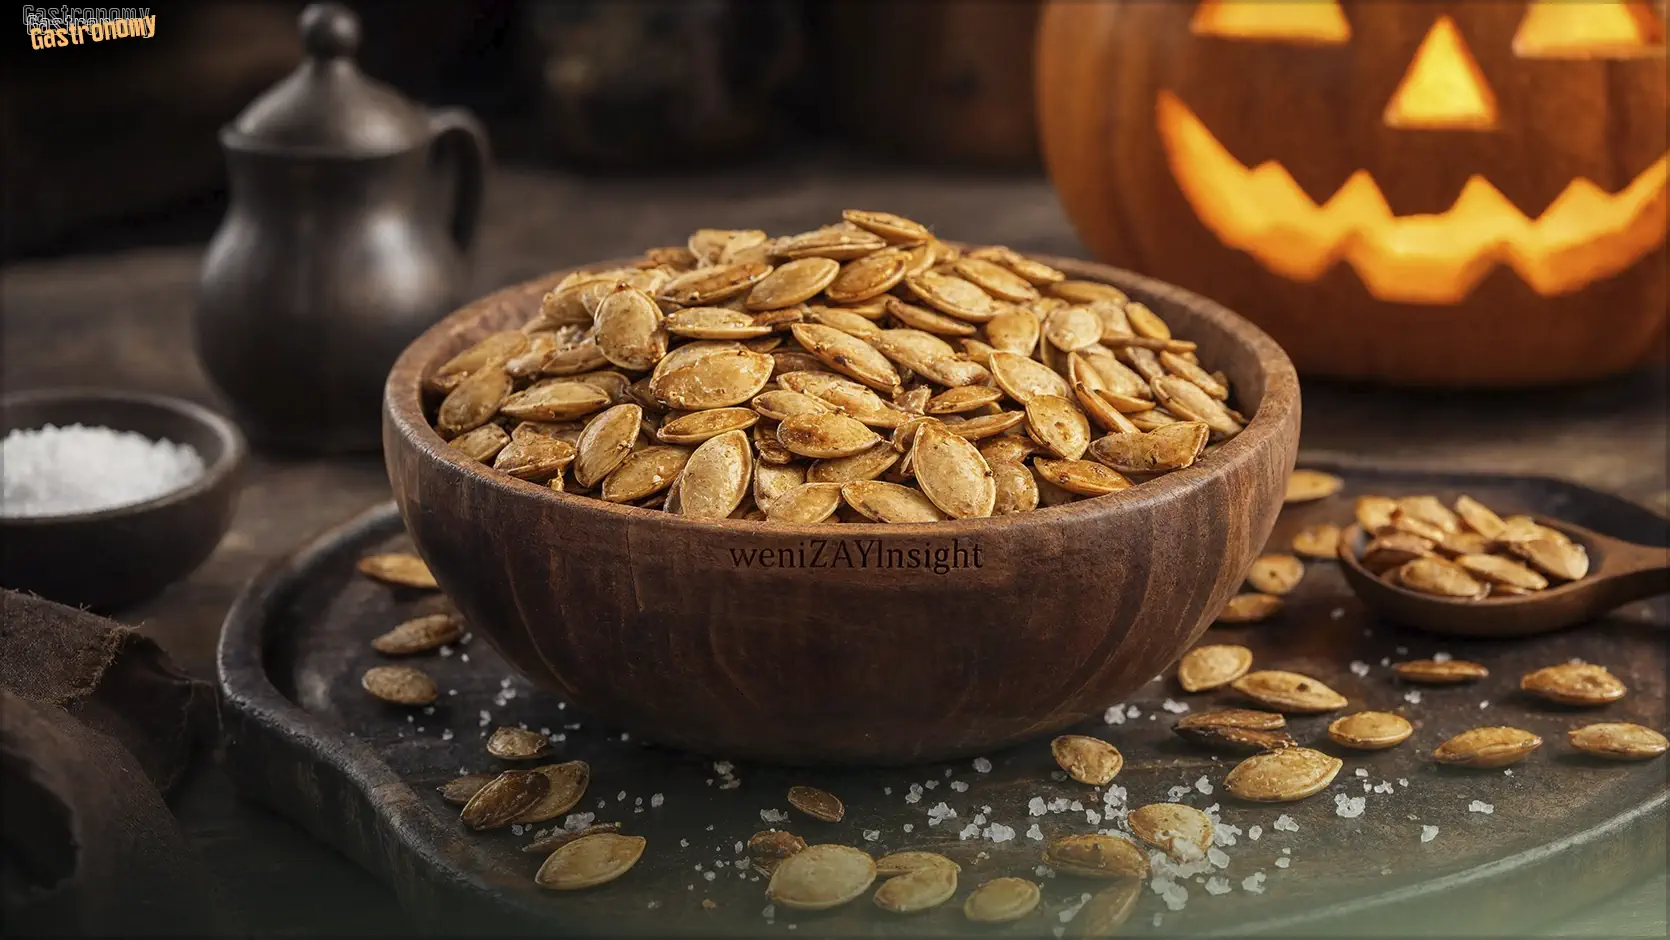
The Bowl You Were About to Throw Away
Every autumn, millions of pumpkins are carved, and millions of bowls of seeds are thrown away. The stringy, golden mass you scoop out with a spoon — the one that clings to your fingers and drips onto the porch — is not waste. It is a bowl of free, crisp, protein-rich snacks that cost nothing and take twenty minutes to make. The pumpkin gave you the flesh, the broth, and the seeds. The seeds are the part nobody talks about.
Pumpkin seeds, or pepitas, are one of the most nutritious snacks of the season. They are rich in protein, magnesium, zinc, and healthy fats. They are naturally gluten-free. They keep for weeks in a jar. And they are, quite simply, delicious when roasted with salt and a little oil. The only reason they end up in the compost is that most people do not know how to prepare them. This guide fixes that.
Why They Deserve a Place on the Tray
Pumpkin seeds are not a byproduct. They are the pumpkin's most concentrated offering — the part of the fruit that carries the next season's life, packed with energy and nutrients. In Mexican cuisine, pepitas are a staple, toasted and ground into sauces, sprinkled over soups, or eaten by the handful. In the United States, roasted pumpkin seeds are a seasonal tradition, often made during Halloween and Thanksgiving. In both traditions, the seeds are treated as food, not refuse.
What makes them particularly rewarding is their texture. When roasted correctly, pumpkin seeds become crisp, almost crunchy, with a nutty depth that no other seed quite matches. They are substantial enough to feel like a real snack, light enough to eat by the handful, and versatile enough to pair with almost any seasoning. They are, in short, the snack the season forgot to advertise.
The Two Steps Most People Skip
The difference between soggy, chewy pumpkin seeds and crisp, golden ones comes down to two steps that most recipes skip or rush: cleaning and drying. Do these well, and the roasting takes care of itself. Rush them, and no amount of oven time will make the seeds crisp.
Step 1: Clean the Seeds Thoroughly
When you scoop the seeds from the pumpkin, they are coated in stringy, wet pulp. That pulp holds moisture, and moisture is the enemy of crispness. The seeds must be separated from the pulp as completely as possible.
The easiest method is a bowl of water. Drop the seed-and-pulp mass into a large bowl of cold water. The seeds will sink, and most of the pulp will float. Use your fingers to separate them, letting the pulp rise to the surface and the seeds settle at the bottom. Skim off the pulp, drain the seeds, and repeat if needed. You will be left with clean, slippery seeds ready for drying.
Step 2: Dry the Seeds Completely
This is the step that makes or breaks the recipe. Wet seeds steam in the oven instead of roasting. They come out chewy, pale, and disappointing. The seeds must be dry before they hit the tray.
Spread the cleaned seeds on a clean kitchen towel or paper towels and pat them dry. Then, if you have time, let them air-dry for 30 minutes to an hour, spreading them in a single layer. The drier they are, the crisper they will roast. If you are in a hurry, you can skip the air-dry, but the seeds will not be as crisp.
The Recipe: Classic Roasted Pumpkin Seeds
What you need:
- 1 cup cleaned pumpkin seeds (from one medium pumpkin)
- 1 tbsp olive oil (or melted butter)
- 1/2 tsp sea salt
- Optional seasonings (see variations below)
How to make it:
- Preheat: Heat the oven to 180°C (350°F). Line a baking tray with parchment paper.
- Coat the seeds: Toss the cleaned, dried seeds with the olive oil and salt until evenly coated.
- Spread in a single layer: Arrange the seeds on the tray in a single layer, not piled on top of each other. Space between seeds means space for air, which means crispness.
- Roast: 15–20 minutes, stirring once or twice, until the seeds are golden and fragrant. Watch carefully in the last few minutes; they go from golden to burnt quickly.
- Cool on the tray: The seeds will continue to crisp as they cool. Let them sit on the tray for at least 5 minutes before transferring to a bowl or jar.
Five Flavour Variations
The classic salt version is the baseline, but pumpkin seeds take beautifully to almost any seasoning. Here are five of the best:
- Smoked paprika: Add 1/2 tsp smoked paprika and a pinch of cayenne with the salt. Deep, smoky, and savoury.
- Honey and chilli: Toss the hot seeds with 1 tsp honey, a pinch of chilli flakes, and a little extra salt. Sweet, spicy, and addictive.
- Rosemary and sea salt: Add 1 tbsp finely chopped fresh rosemary and a little flaky sea salt. Herbal and elegant.
- Curry powder: Add 1 tsp curry powder and a pinch of turmeric. Warm, complex, and golden.
- Cinnamon sugar: For a sweet version, toss the hot seeds with 1 tsp sugar, 1/2 tsp cinnamon, and a pinch of salt. Eat them like dessert.
The Snack That Keeps Giving
Once roasted and cooled, pumpkin seeds keep beautifully. Store them in an airtight jar at room temperature for up to two weeks, or freeze them for up to three months. They are perfect for snacking, but they also work beautifully as a topping: scattered over roasted pumpkin, stirred into autumn soup, or folded into salads for crunch. They are, alongside the season's nuts, one of the great free gifts of the autumn kitchen.
So this autumn, when you carve the pumpkin, do not throw away the seeds. Scoop them into a bowl, rinse off the pulp, dry them well, and roast them with a little salt and oil. Twenty minutes later, you will have a snack that cost nothing, wastes nothing, and tastes like the season itself. The pumpkin gave you the seeds for free. The least you can do is roast them.
Для комментирования войдите или зарегистрируйтесь.